
The Work Begins

In the last post, I shared our decision to shift the RV park project from our Meixner property to Windmill Lane. Moving to Windmill gave us a huge head start: existing septic and utilities, which helped save a lot of time and money.
Now we needed to finalize the design and then begin building.
Our goal for this first phase if the park was to build out four permanent RV sites equipped with full hookups (30 and 50-amp power, water, and sewer connections). Later we would add 4-8 more pads.
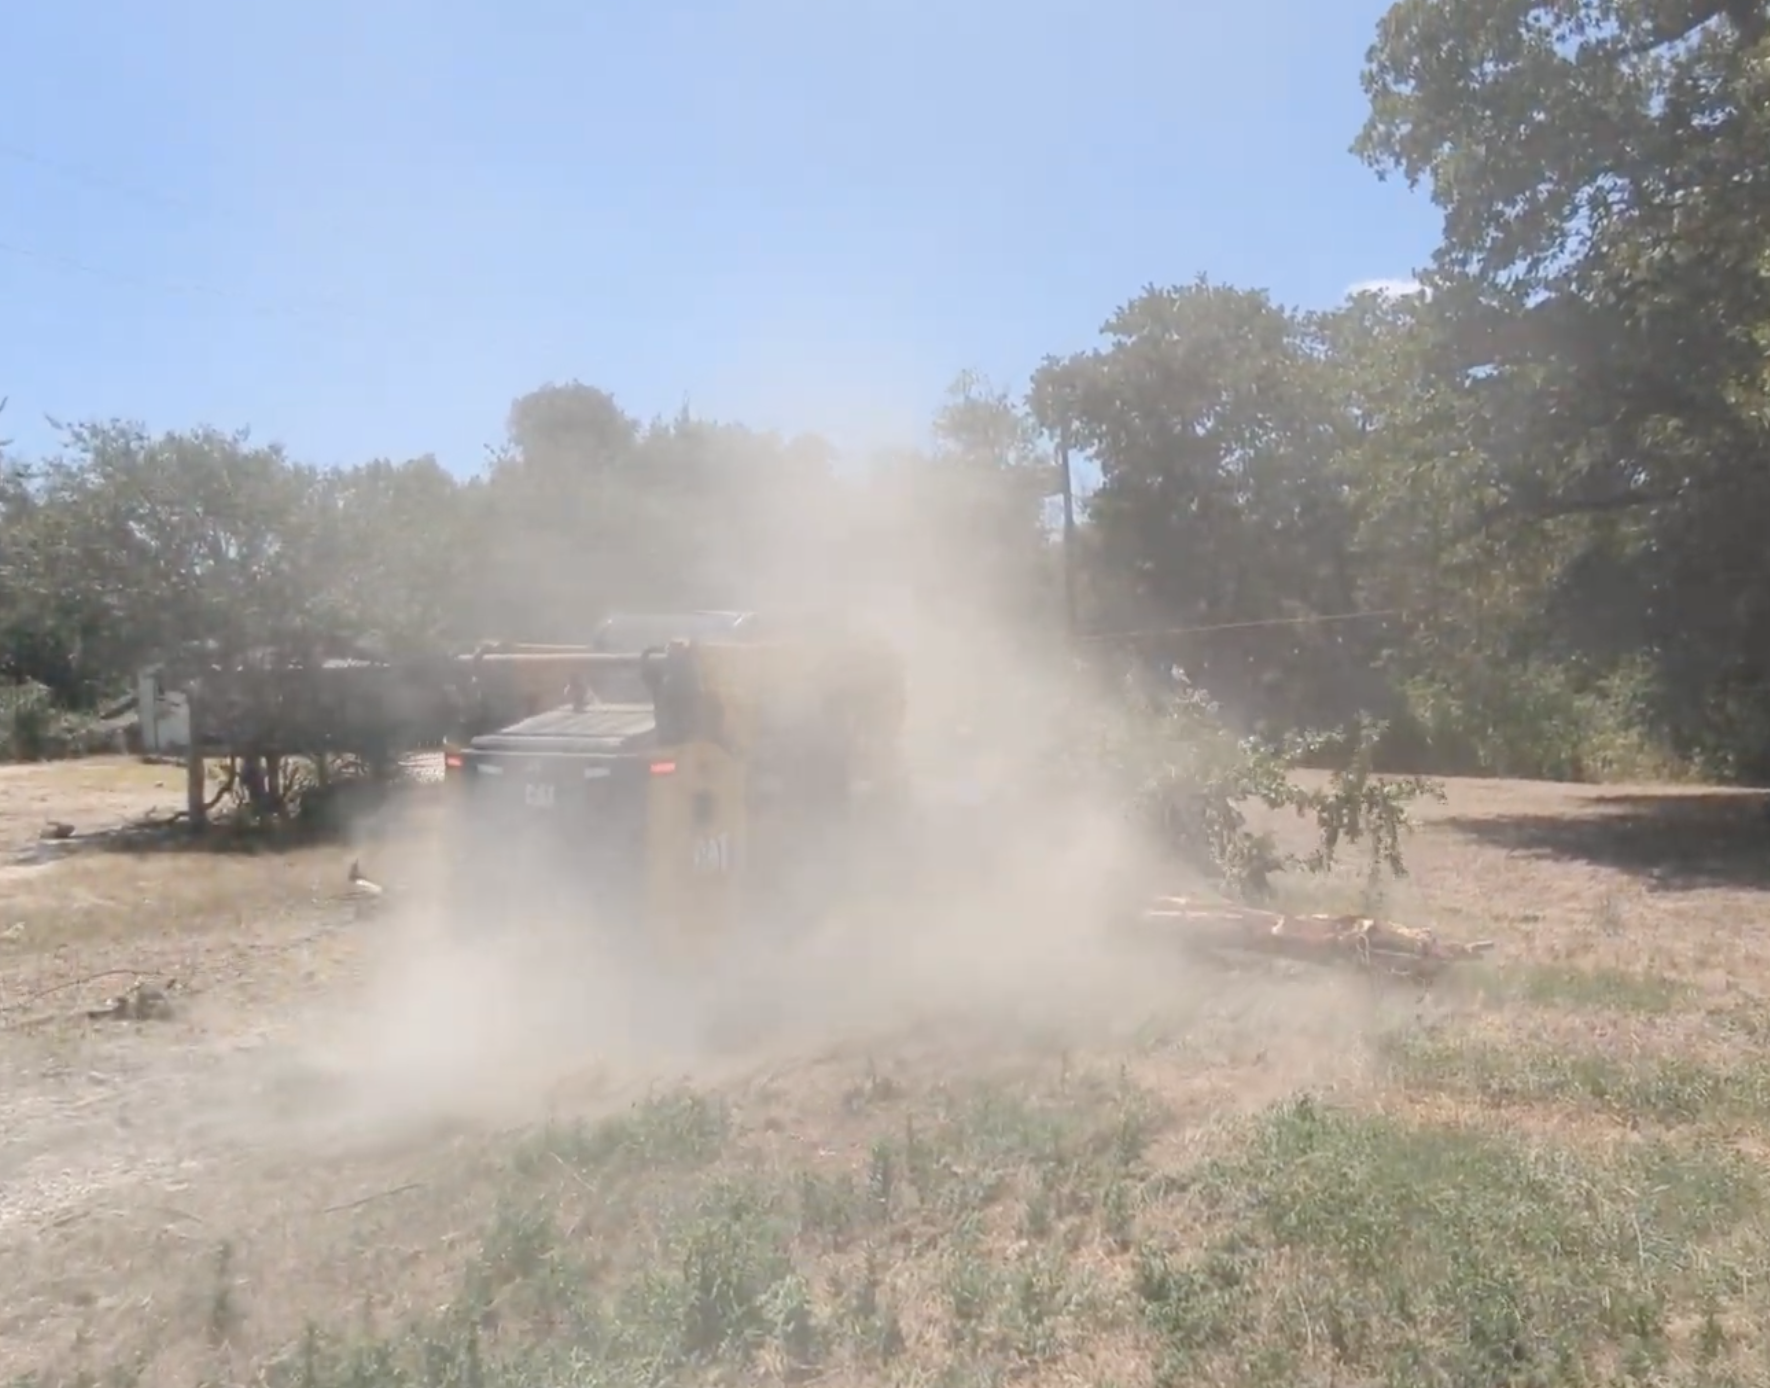
While we worked on finalizing the layout of the park, Addison Livingston and his crew began grading the site to make it more level, as the ground was very sloped.
During this time we went through dozens of ideas for how to layout the RVs to make them accessible and comfortable. The main issue we had was trying to figure out how to make the pads so that the RVs would be able to get in and out easily. After many design attempts though, I realized that since we are doing a business model which allows for the RVs to be permanent, it only needs to be possible for the RVs to get in, not easy. With that idea, we only needed to make the car access easy and comfortable which made the designing much easier.
Once we finished the design, we pretty much immediately began to work on installing utilities.
Instead of hiring three separate contractors for electrical, plumbing, and septic, our friend and my main mentor for this project, Sam Schwennesen (Timeline Construction), offered to handle all three utility installs himself. This reduced the cost by a large amount. He also allowed me to work alongside him and learn from him as a job site hand to shave $1,500 off the labor cost.
Phase 1: Trenching & Utilities
Work officially began in early September. The scope was massive for a four-pad setup:
- Power: We dropped a brand-new 200-amp service with Hilco Electric, setting a new meter loop pole and running 500 feet of heavy URD cable. Each pad was fitted with a dedicated RV pedestal featuring 50-amp, 30-amp, and standard 110V outlets.
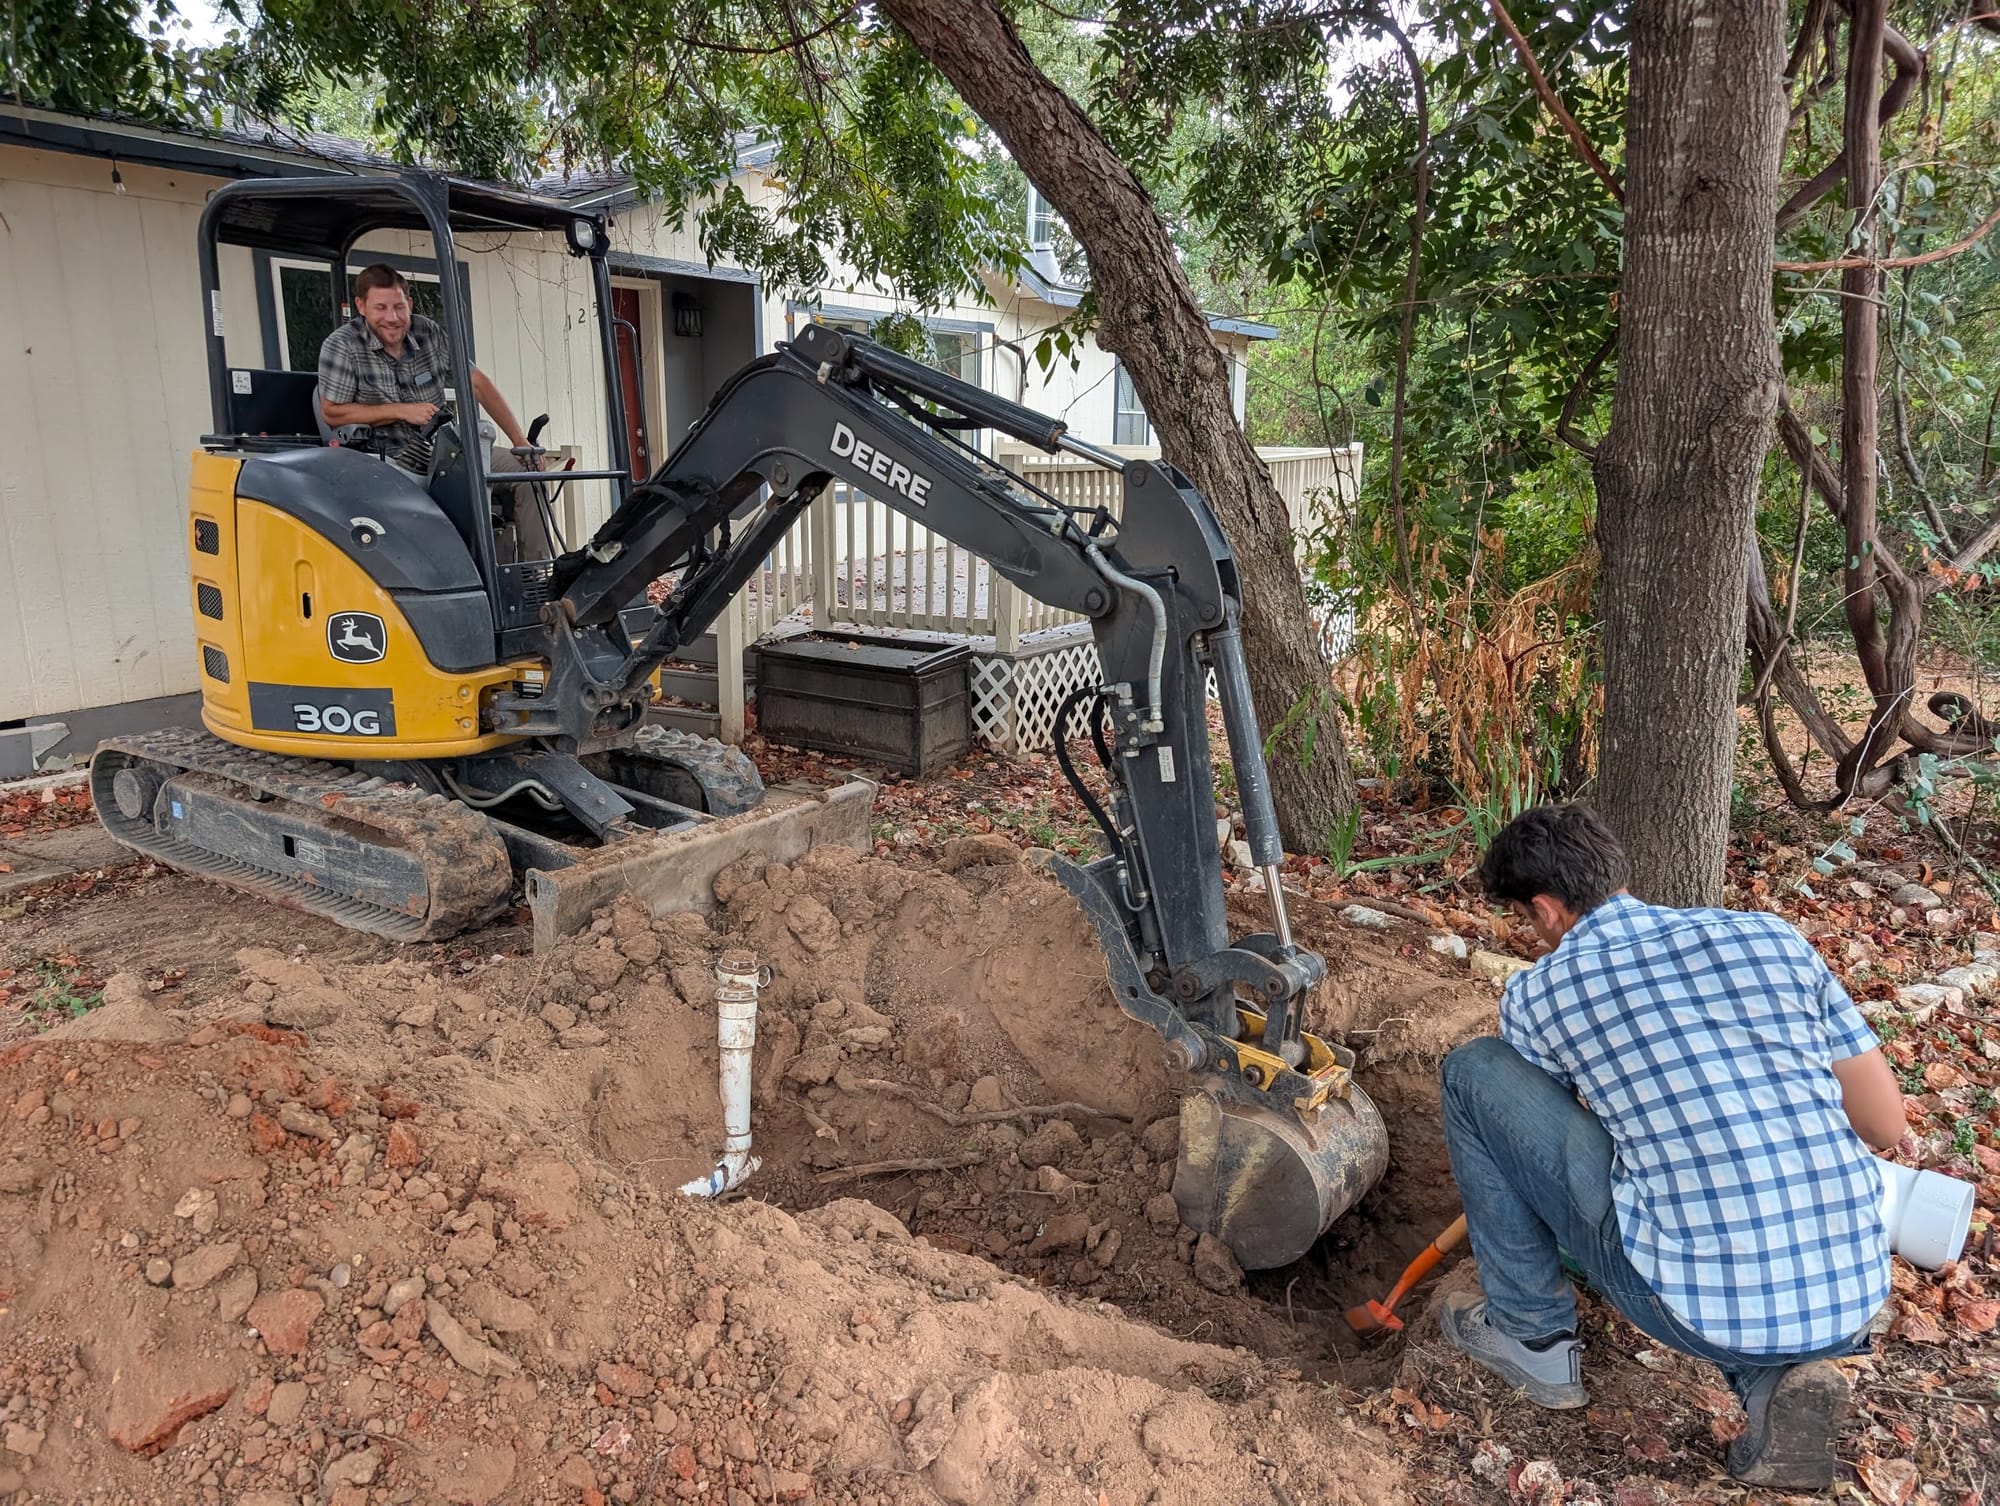
- Sewer: We dug up the existing septic inlet near the vacant house and ran over 130 feet of 6-inch main line, connecting 3-inch lateral branch lines out to each pad. This was the most complicated part, because it required a very specific angle in the pipe, 1/8" drop in per linear foot. This angle allows the pipe to flow smoothly, not letting the waste sit but also not letting the water run away from the solids, which would clog the pipes.
- Water: We tapped into the main water line and ran a 300-foot 1-inch PEX loop with 3/4-inch branch lines feeding individual frost-proof water spigots at every site.
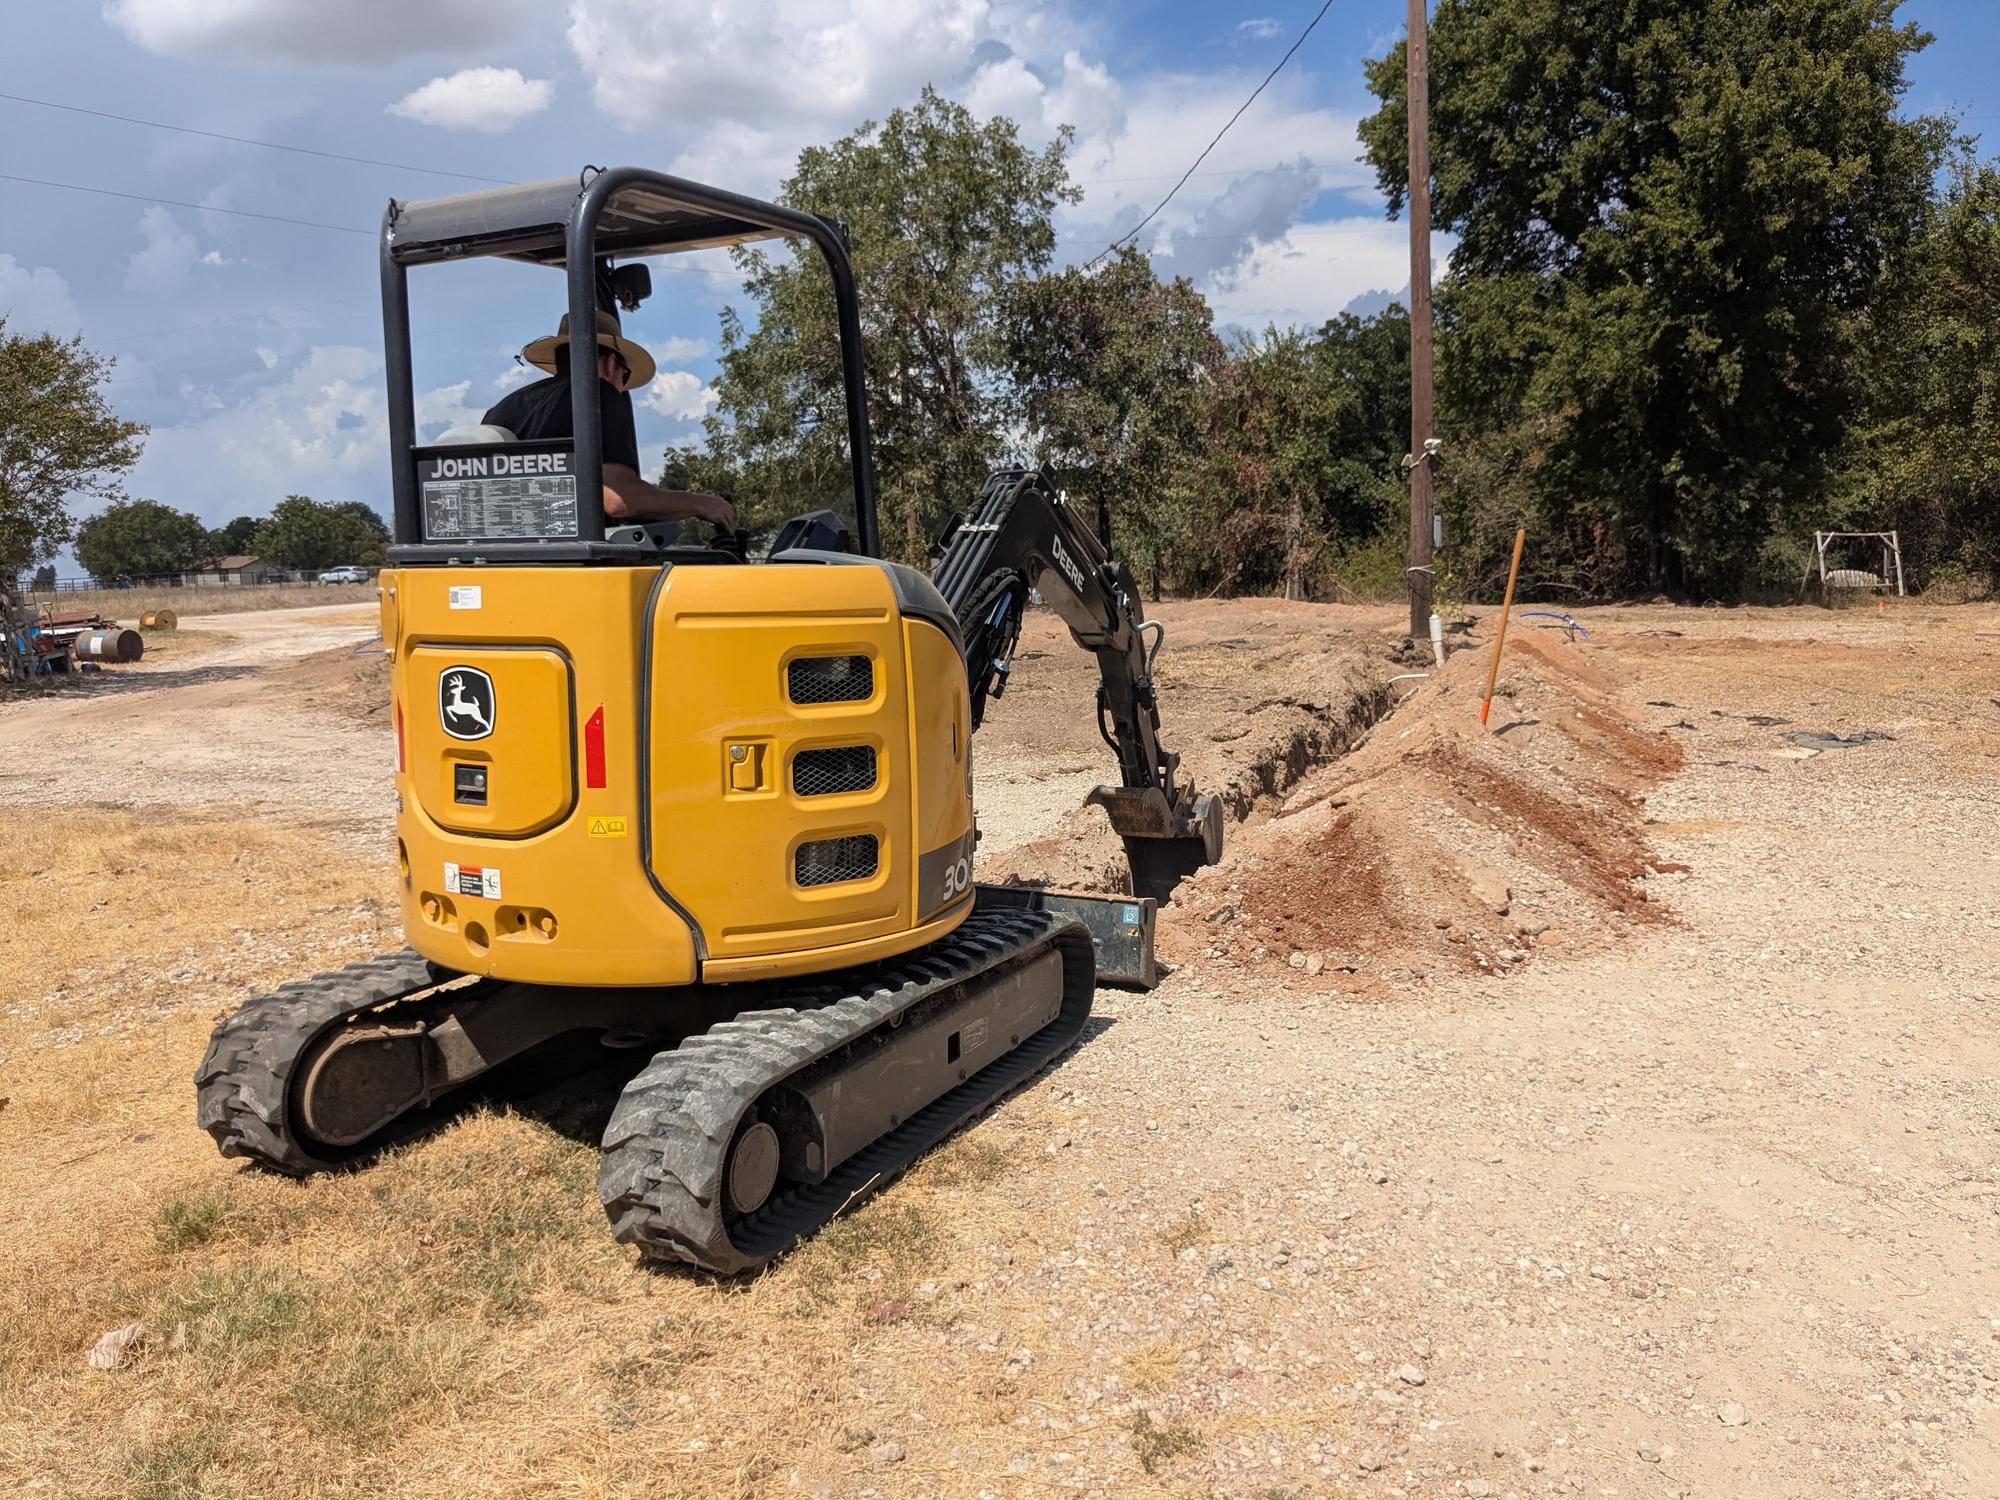
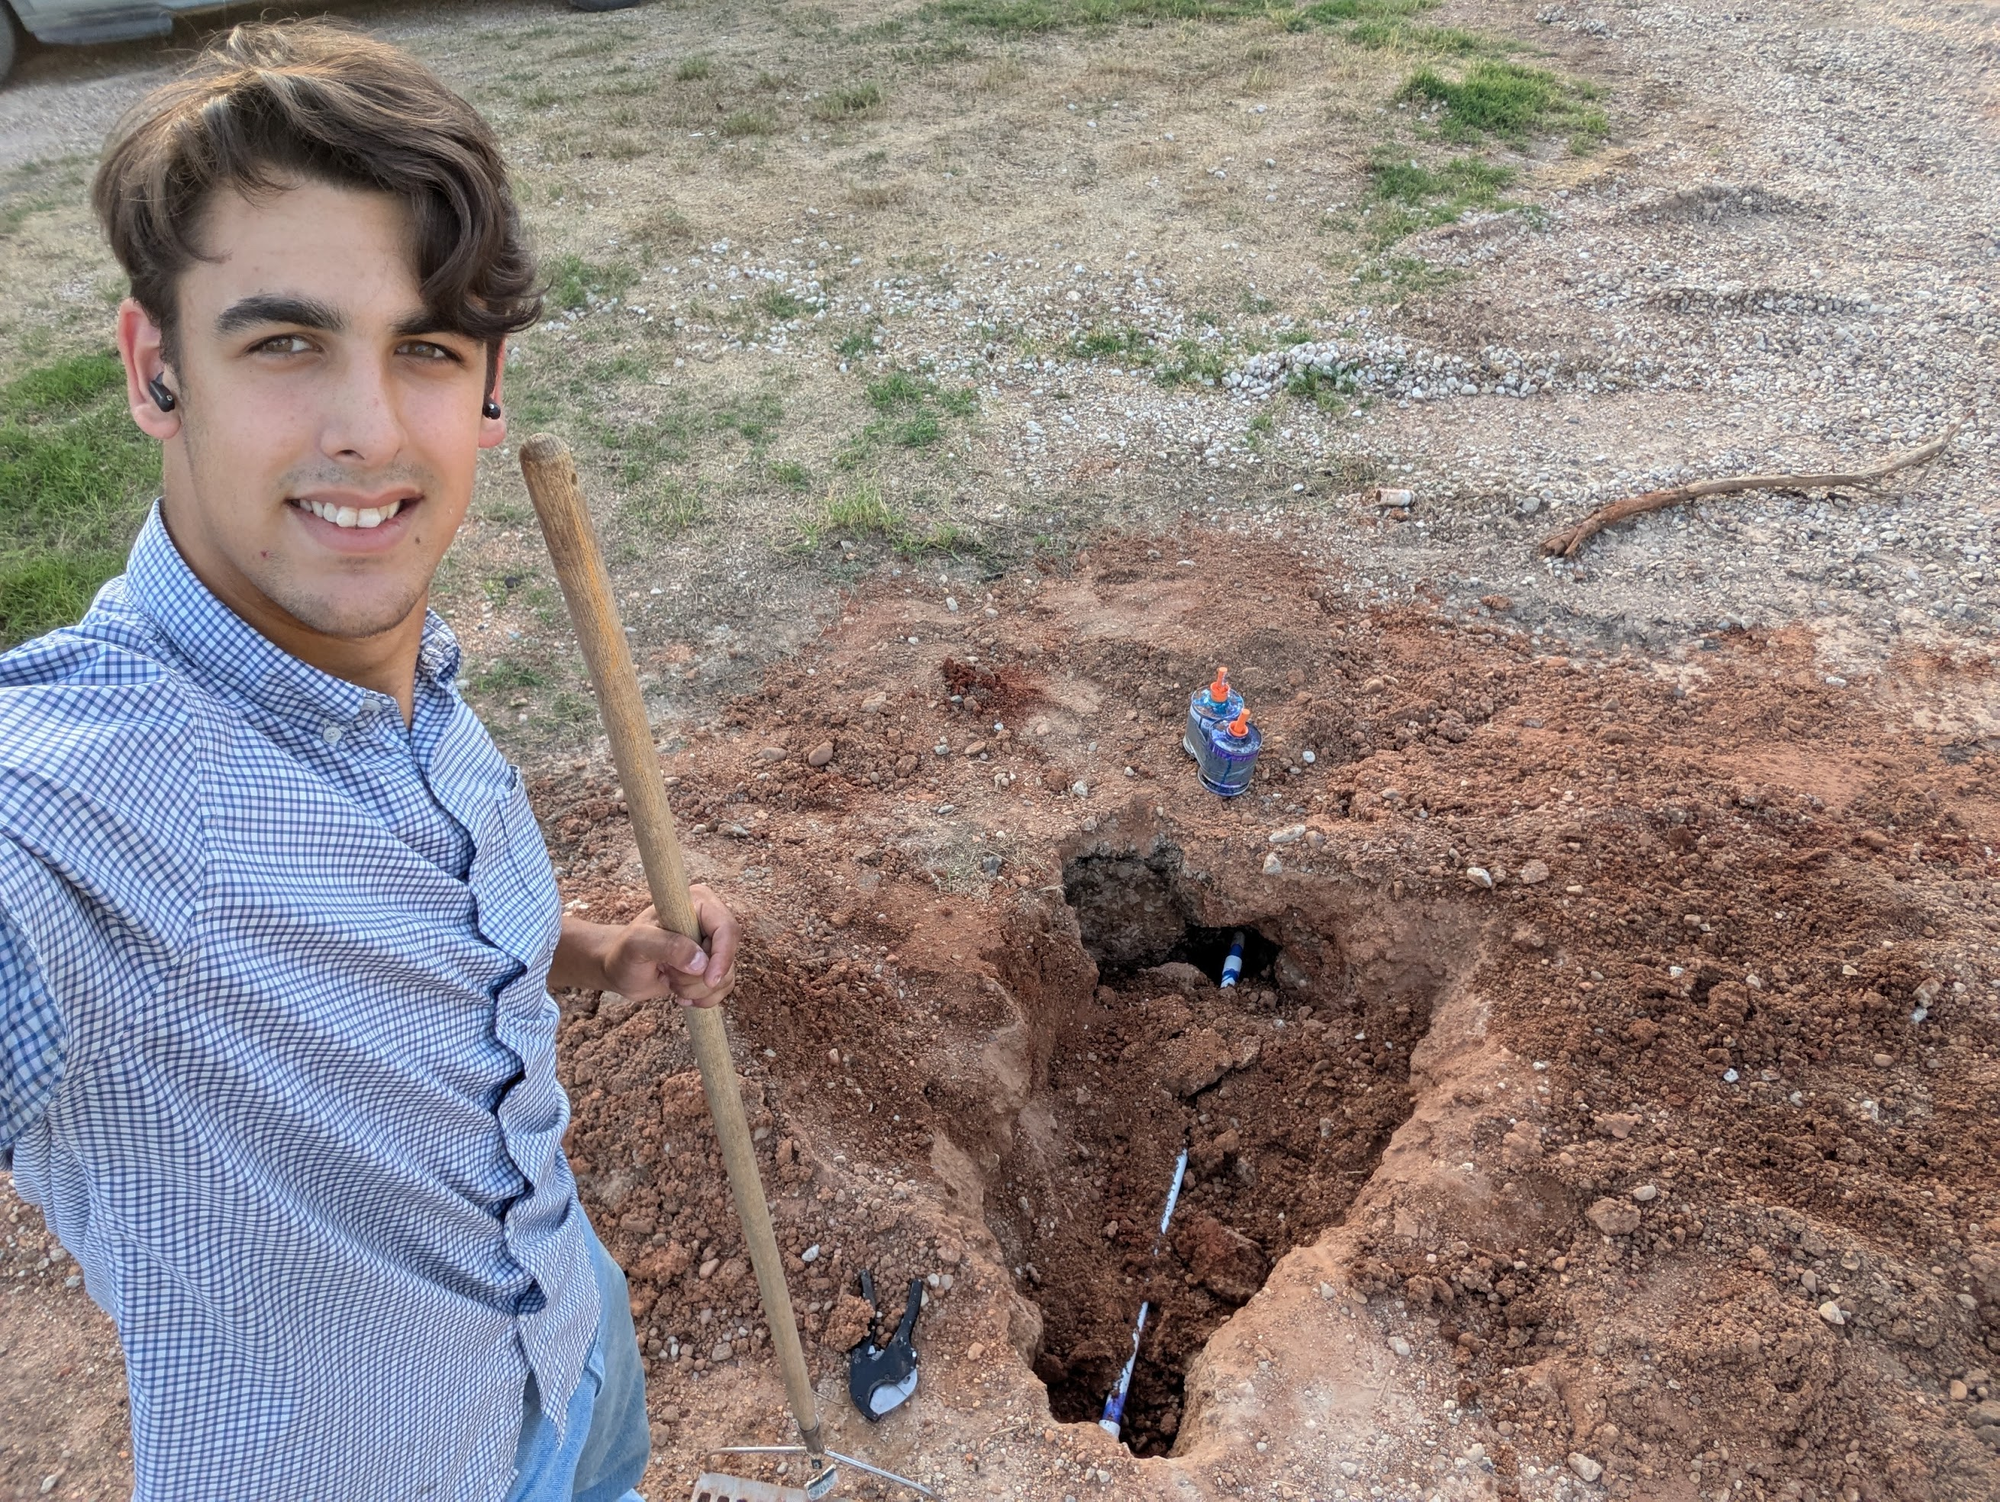
The trenching phase was grueling. Between digging through dry dusty dirt, through rocks, and sadly through a few old buried water pipes as well, we spent days behind the trencher and excavators. And the annoying thing was that because the dirt was so dry, every step i took on the edge of the trench sent buckets of dirt into it, requiring us to dig it back out. And then I spent hours fixing the broken pipes. It's funny now, but not so much then.
Phase 2: Gravel, Pedestals, and Drainage
Once the lines were bedded, inspected, and backfilled, Addison Livingston and the Wacoscapes crew came in for more site grading and gravel the gravel work:
- Soaking & Compacting: We soaked the site using sprinklers for 24 hours to settle the backfilled trenches and reduce the dryness of the ground before bringing in heavy machinery.
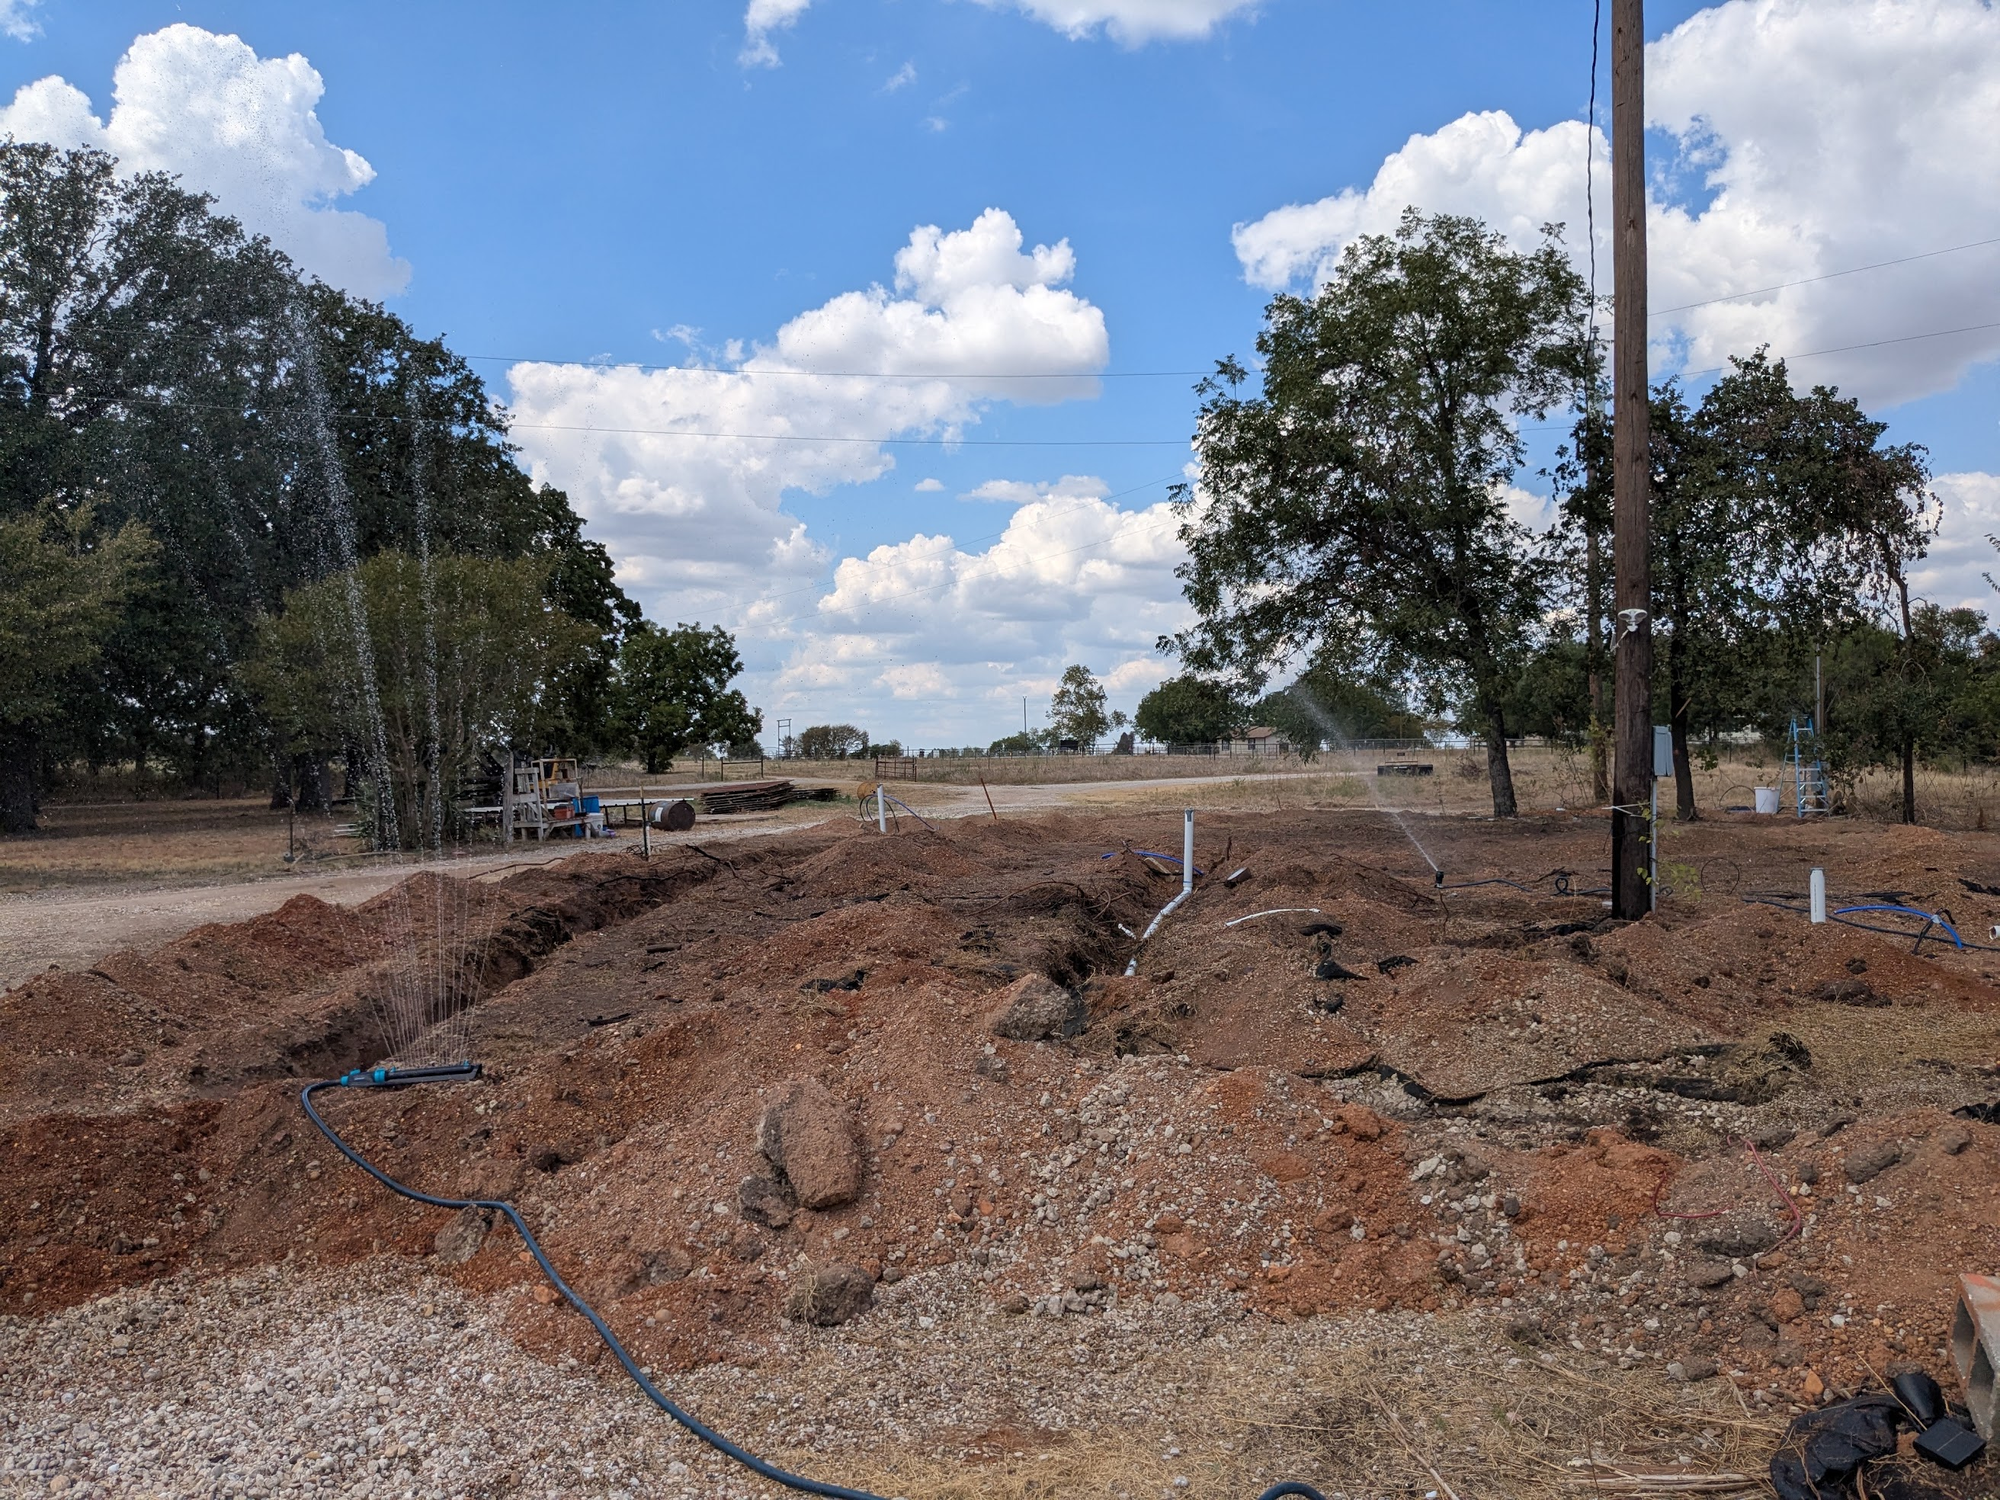
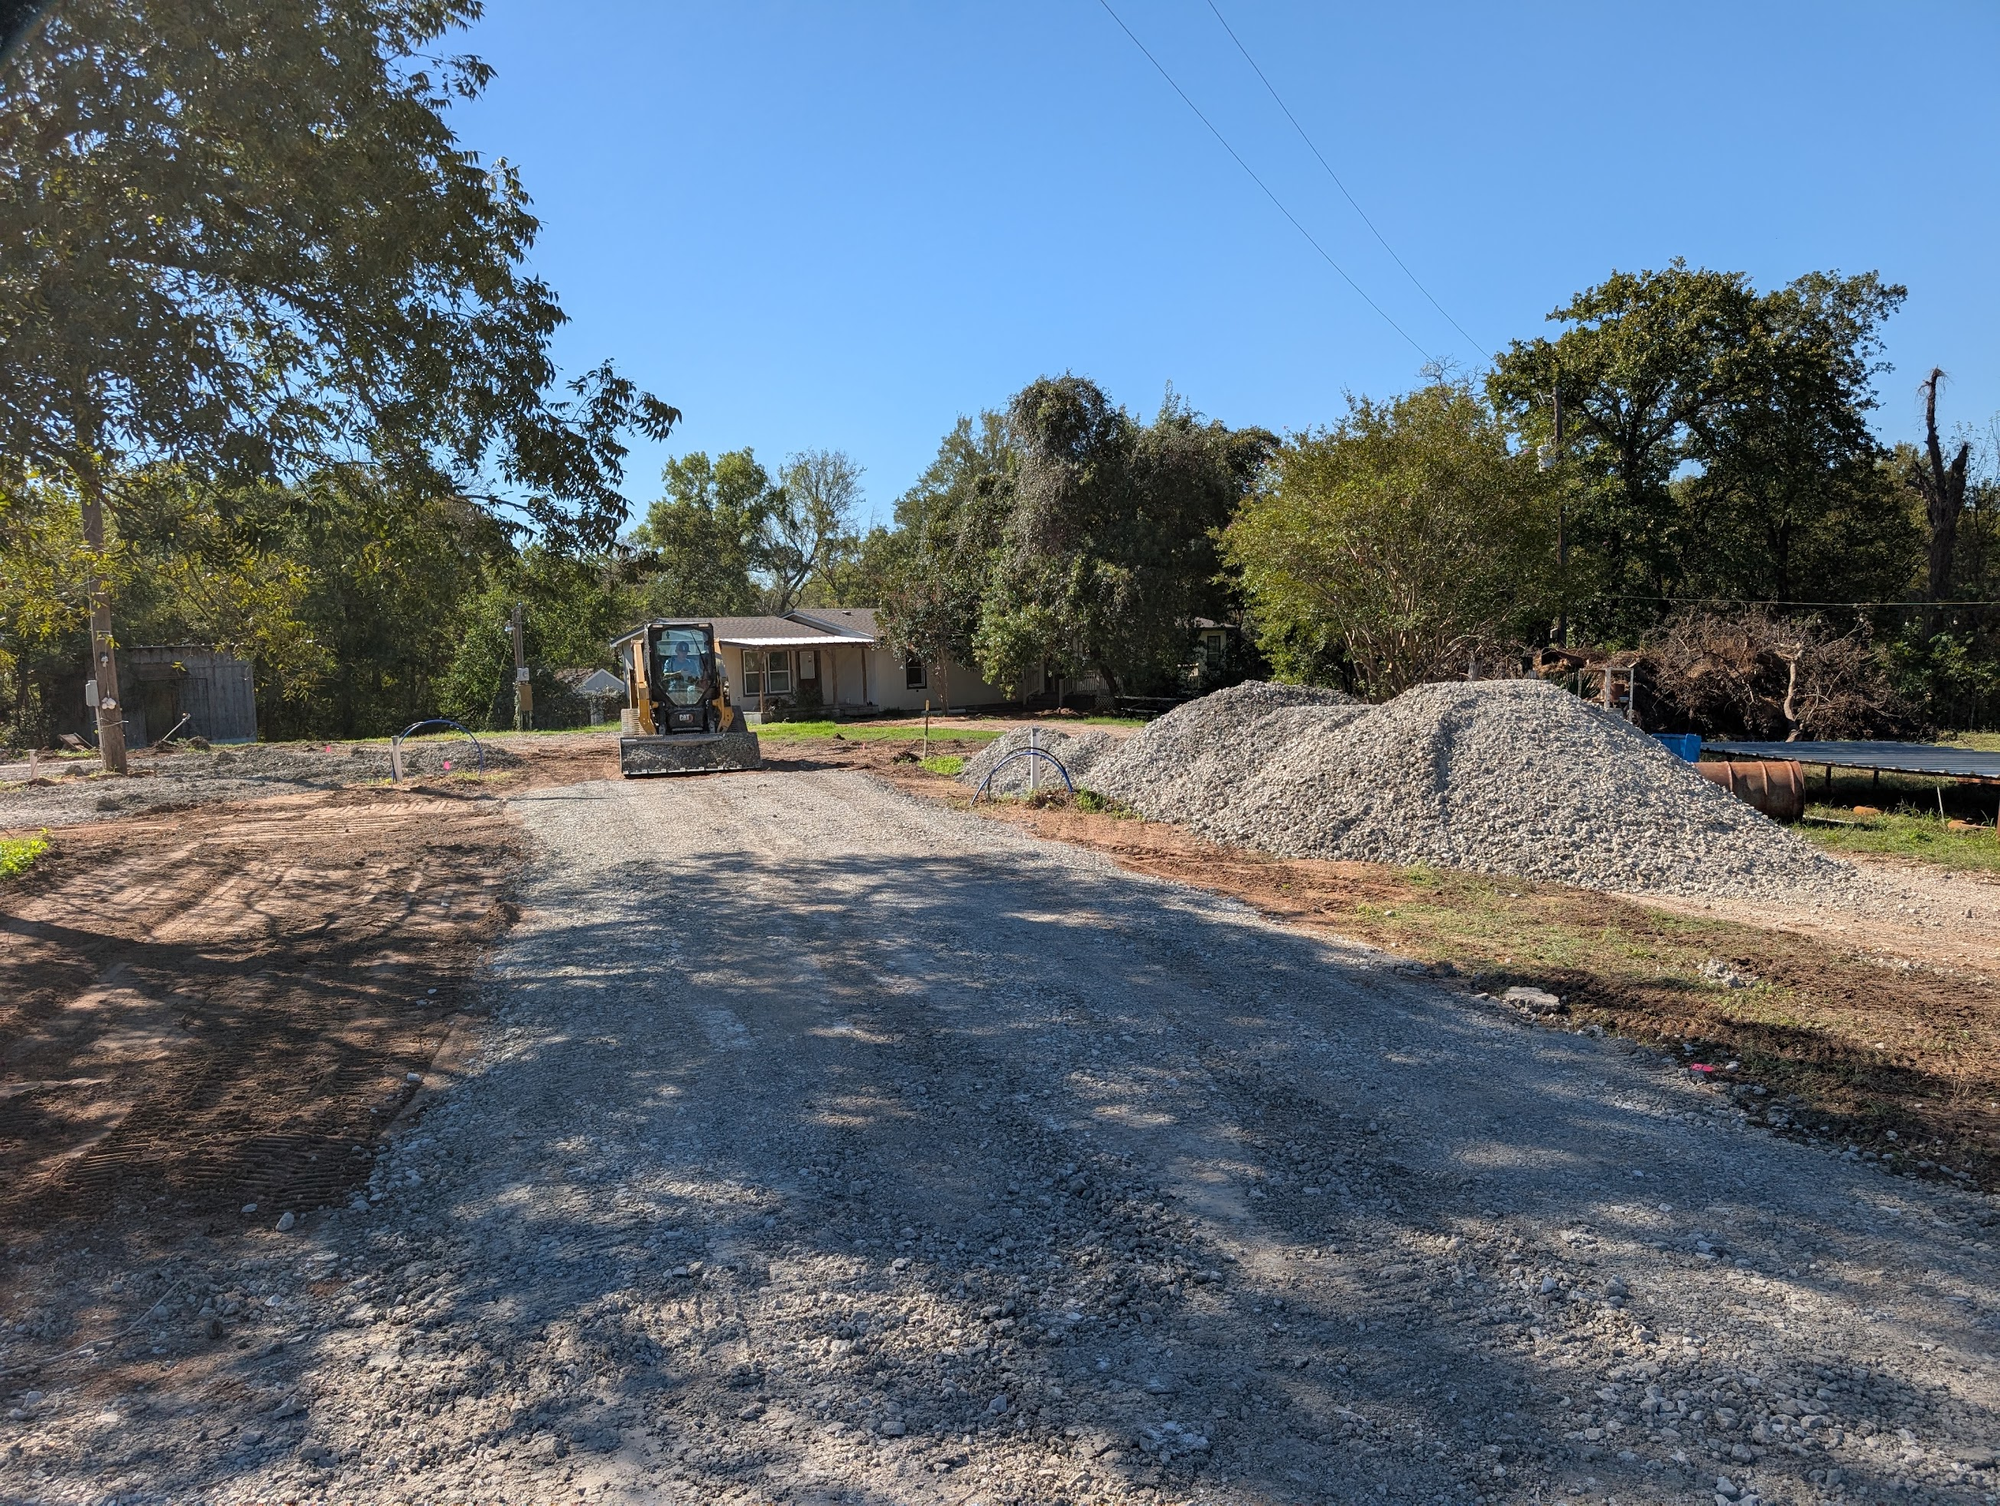
- Gravel Drive & Pads: Tons of crushed gravel were hauled in, spread, and compacted to create a clean entry drive and level parking pads for the RVs.
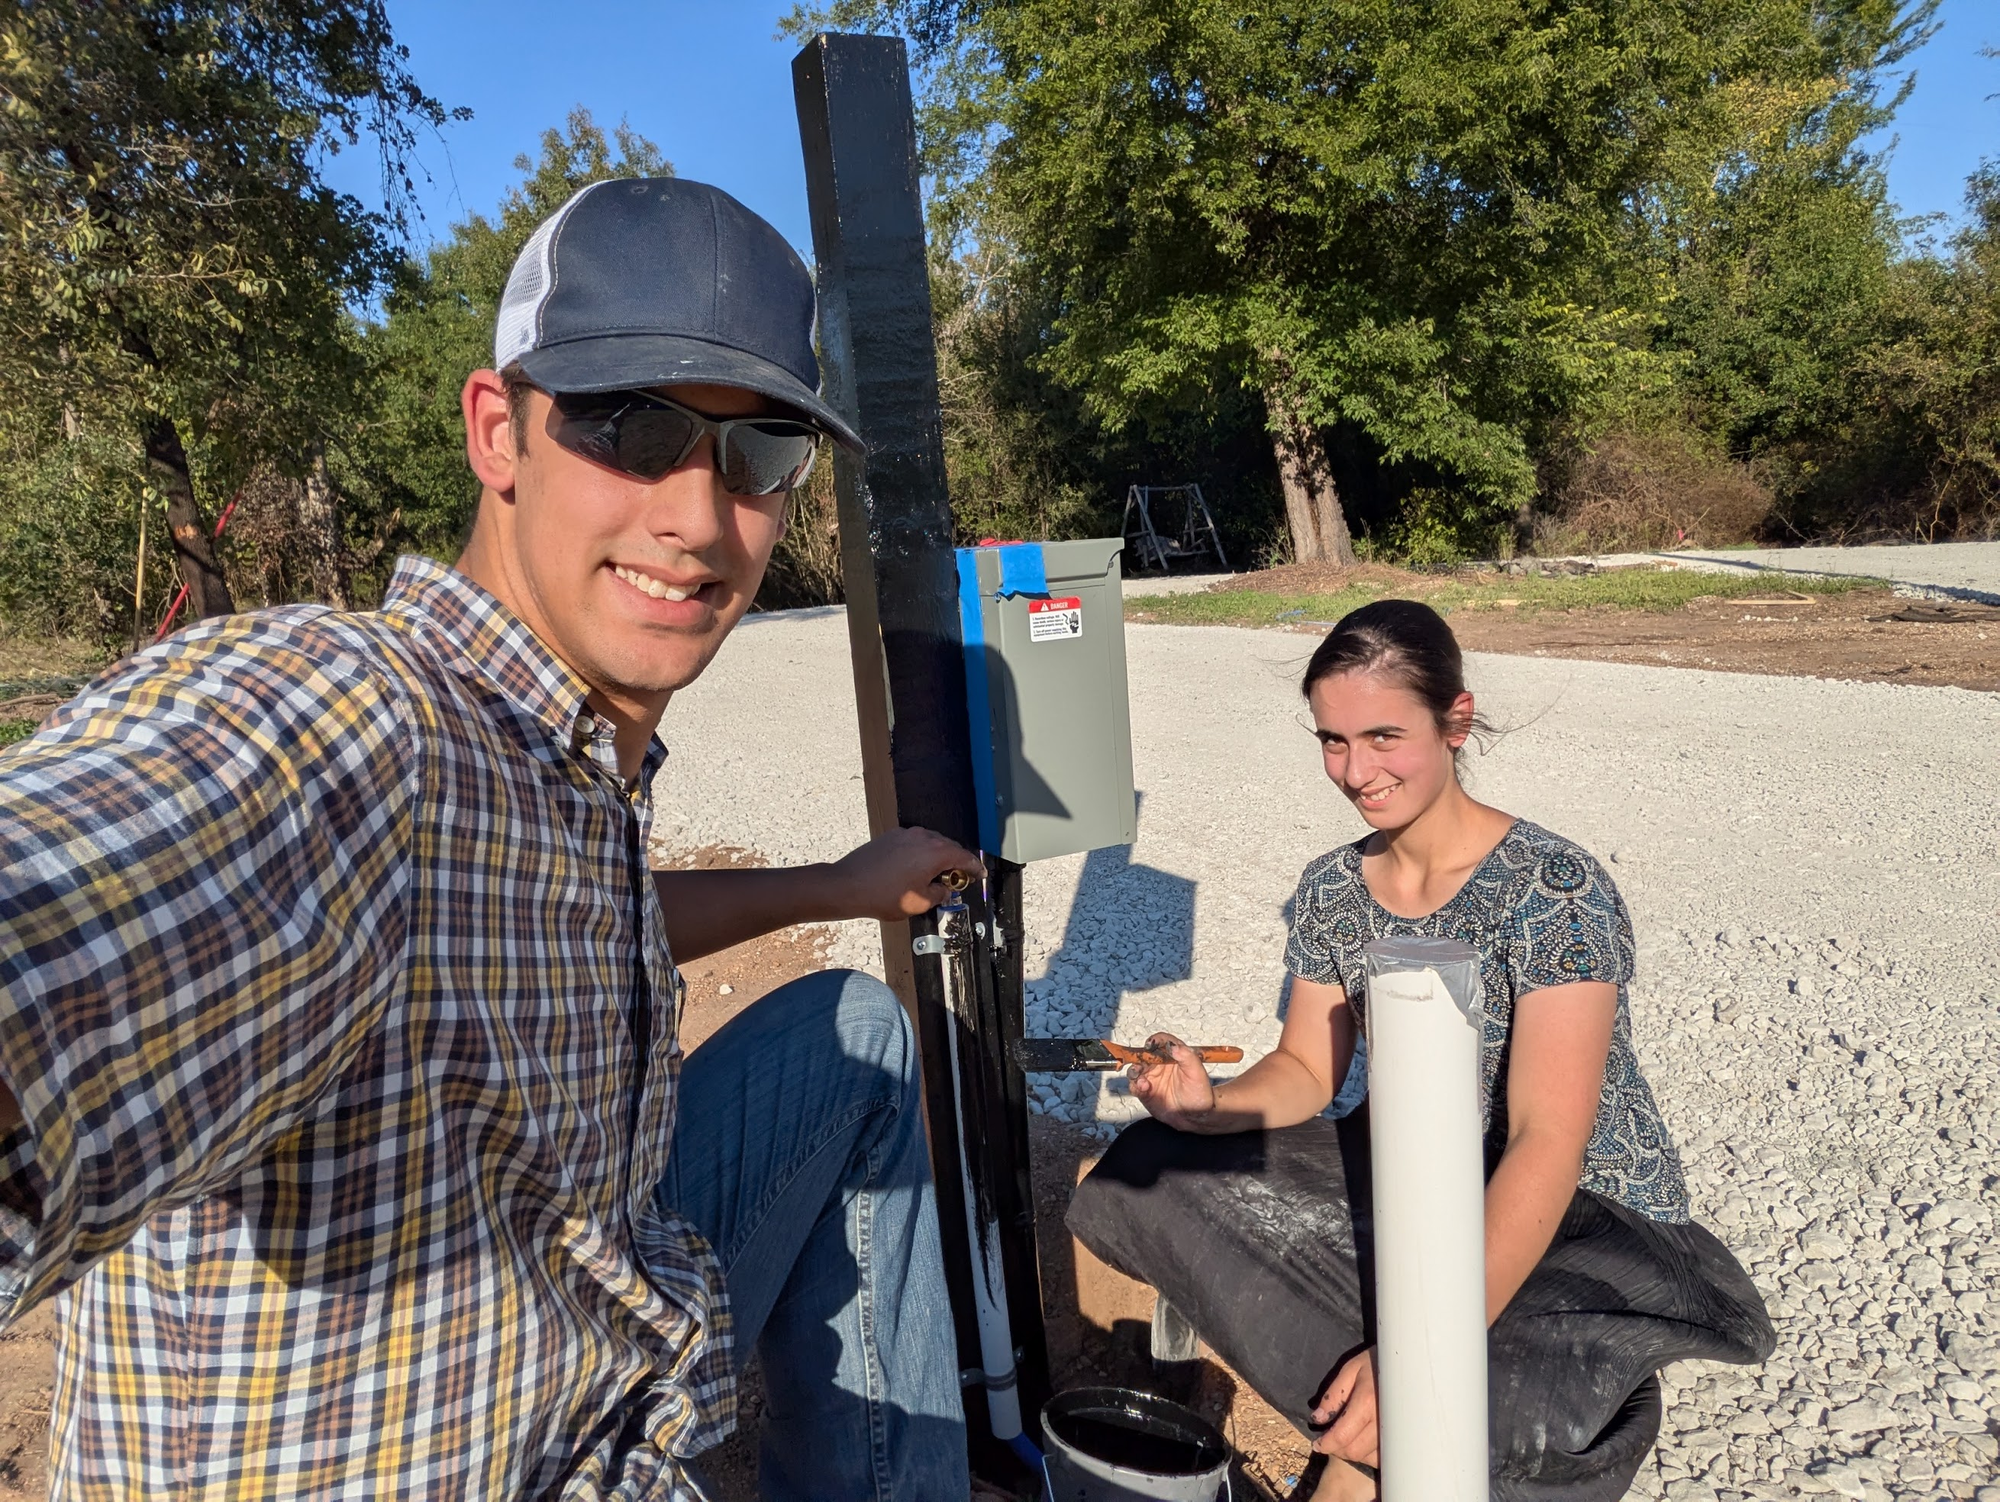
- Pedestals: While the gravel was being shaped, I hand-set the RV pedestals, mounted the water spigots, painted the post, and finished the sewer stub-ups at each brick-staked spot.
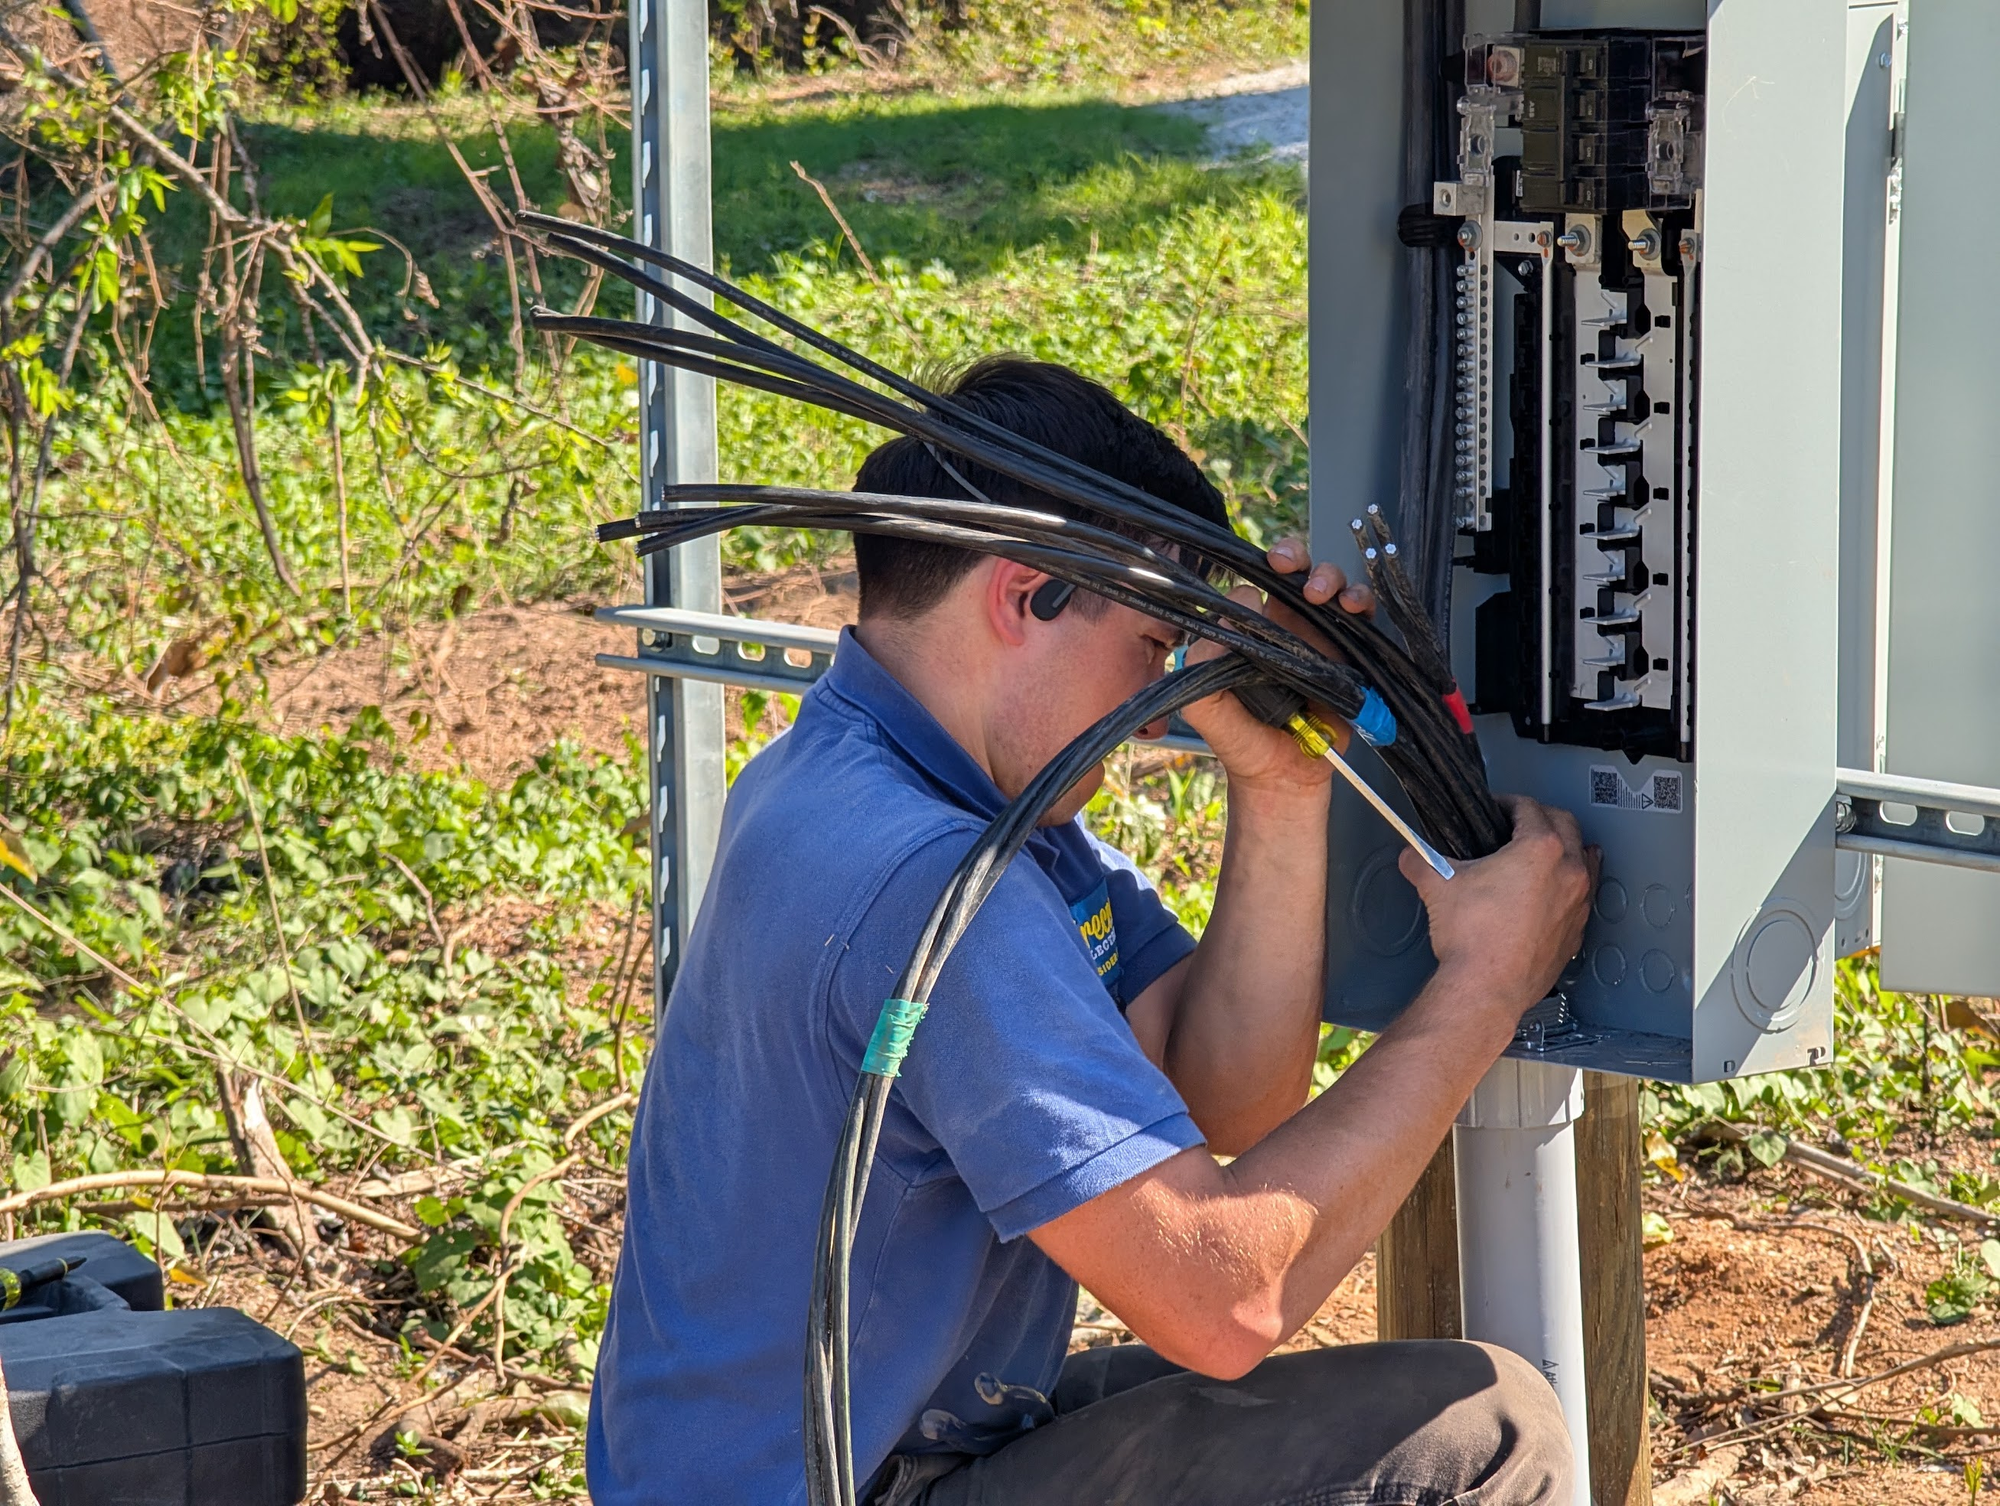
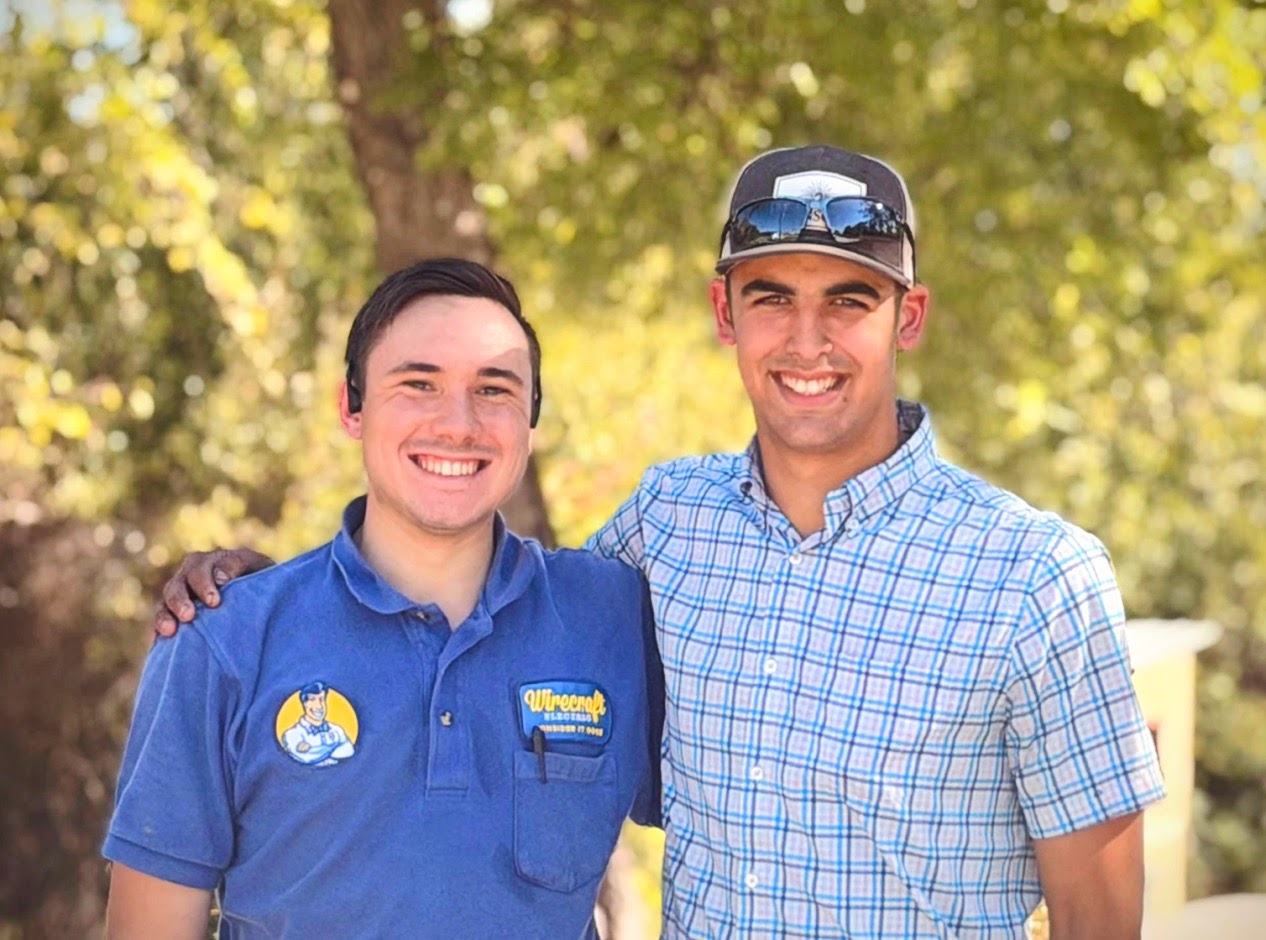
- Electrical Work: My friend Caleb Miller, who is an electrician, did all of the electrical work, installing the electrical boxes on the pedestals and connecting them to the main power.
Lessons Learned From the Trenches
- Hands-on labor pays off: Trading 35–40 hours of my own labor saved us $1,500 on contractor fees and taught me the exact layout of every pipe and wire on the property, as well as what is involved in utility installation. Both of these things will be quite useful in the future.
- Respect the heat: Trenching in Texas summer heat is no joke—staying hydrated and pacing the heavy digging is critical to staying safe on site.
- Verify utility lines twice: No matter how careful you are with a trencher, old unmarked pipes will surprise you. Always have repair fittings on hand! I know that now because I didn't before. I went to Home Depot 5 times to fix 6 pipes because as I fixed one, the next one would get enough pressure to spray.
What's Next: Next up, we tackle the aesthetic details that will bring the park to life—building the privacy fencing, installing string lights, and hanging the FIRESIDE entrance sign!